Learn how to collaborate on media within the project interface
| J | Play video in reverse |
| K | Stop/pause video |
| L | Play video forward |
| < | Go back one frame |
| > | Advance one frame |
| Spacebar | Play/pause video |
- Within the Project Dashboard, click on an image or video to open the File Detail Screen.
- On the File Detail screen, click into the comment box under the video player to type a comment. You can also use the adjacent annotation tools to draw illustrated comments.
- Click the Save button to create a comment. This will be time-stamped if you are commenting on a video file.
Note: Comments can be exported to either CSV or PDF files by clicking the Export buttons below the approval thread.
- On the File Detail screen, double click either into the comment box or in the space below the video progress bar. This will bring up the Time Range Commenting tool.
- Drag the left & right arrows to move the playhead and fine-tune the frame range you want to comment within. You can also move the entire comment bubble for more precision.
- Type in the comment box and/or annotate with the drawing tools and click the Save button.
- Within the Project Dashboard, click the folder on the right pane that contains the file you want to set the status of.
- On client facing presentations, click into a file and open the right side pane. From here you can set the status of a file.
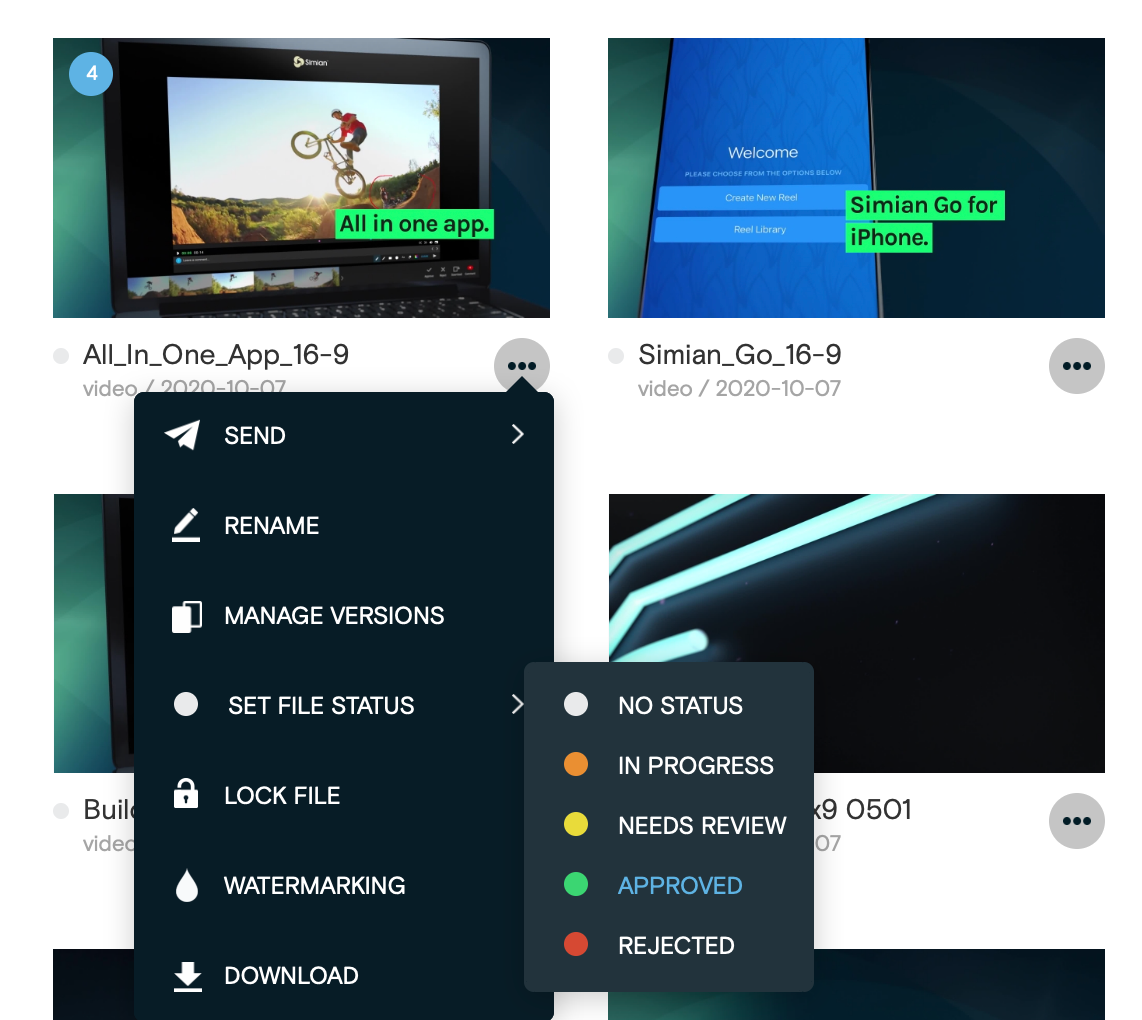
- Mouseover the actions (...) menu, then mouseover Set File Status. Choose the desired file status from the adjacent list.
- Alternatively, click on the file to open the File Detail screen. The file’s status can also be changed via the Set File Status dropdown at the top of the screen.