Learn how to make use of the client upload feature
- Within the Project Dashboard, mouseover the plus (+) icon above the folder tree and select Client Upload.
- Click the Create Upload Link button.
- Enter the required user information and then click Send Invite.
- Click Save. The user will receive an email with a link to the browser-based uploader.
Note: Each user’s credentials can be edited or deleted by mousing over the actions menu to the right of the user’s email address.
Moving Uploaded Files into Folders
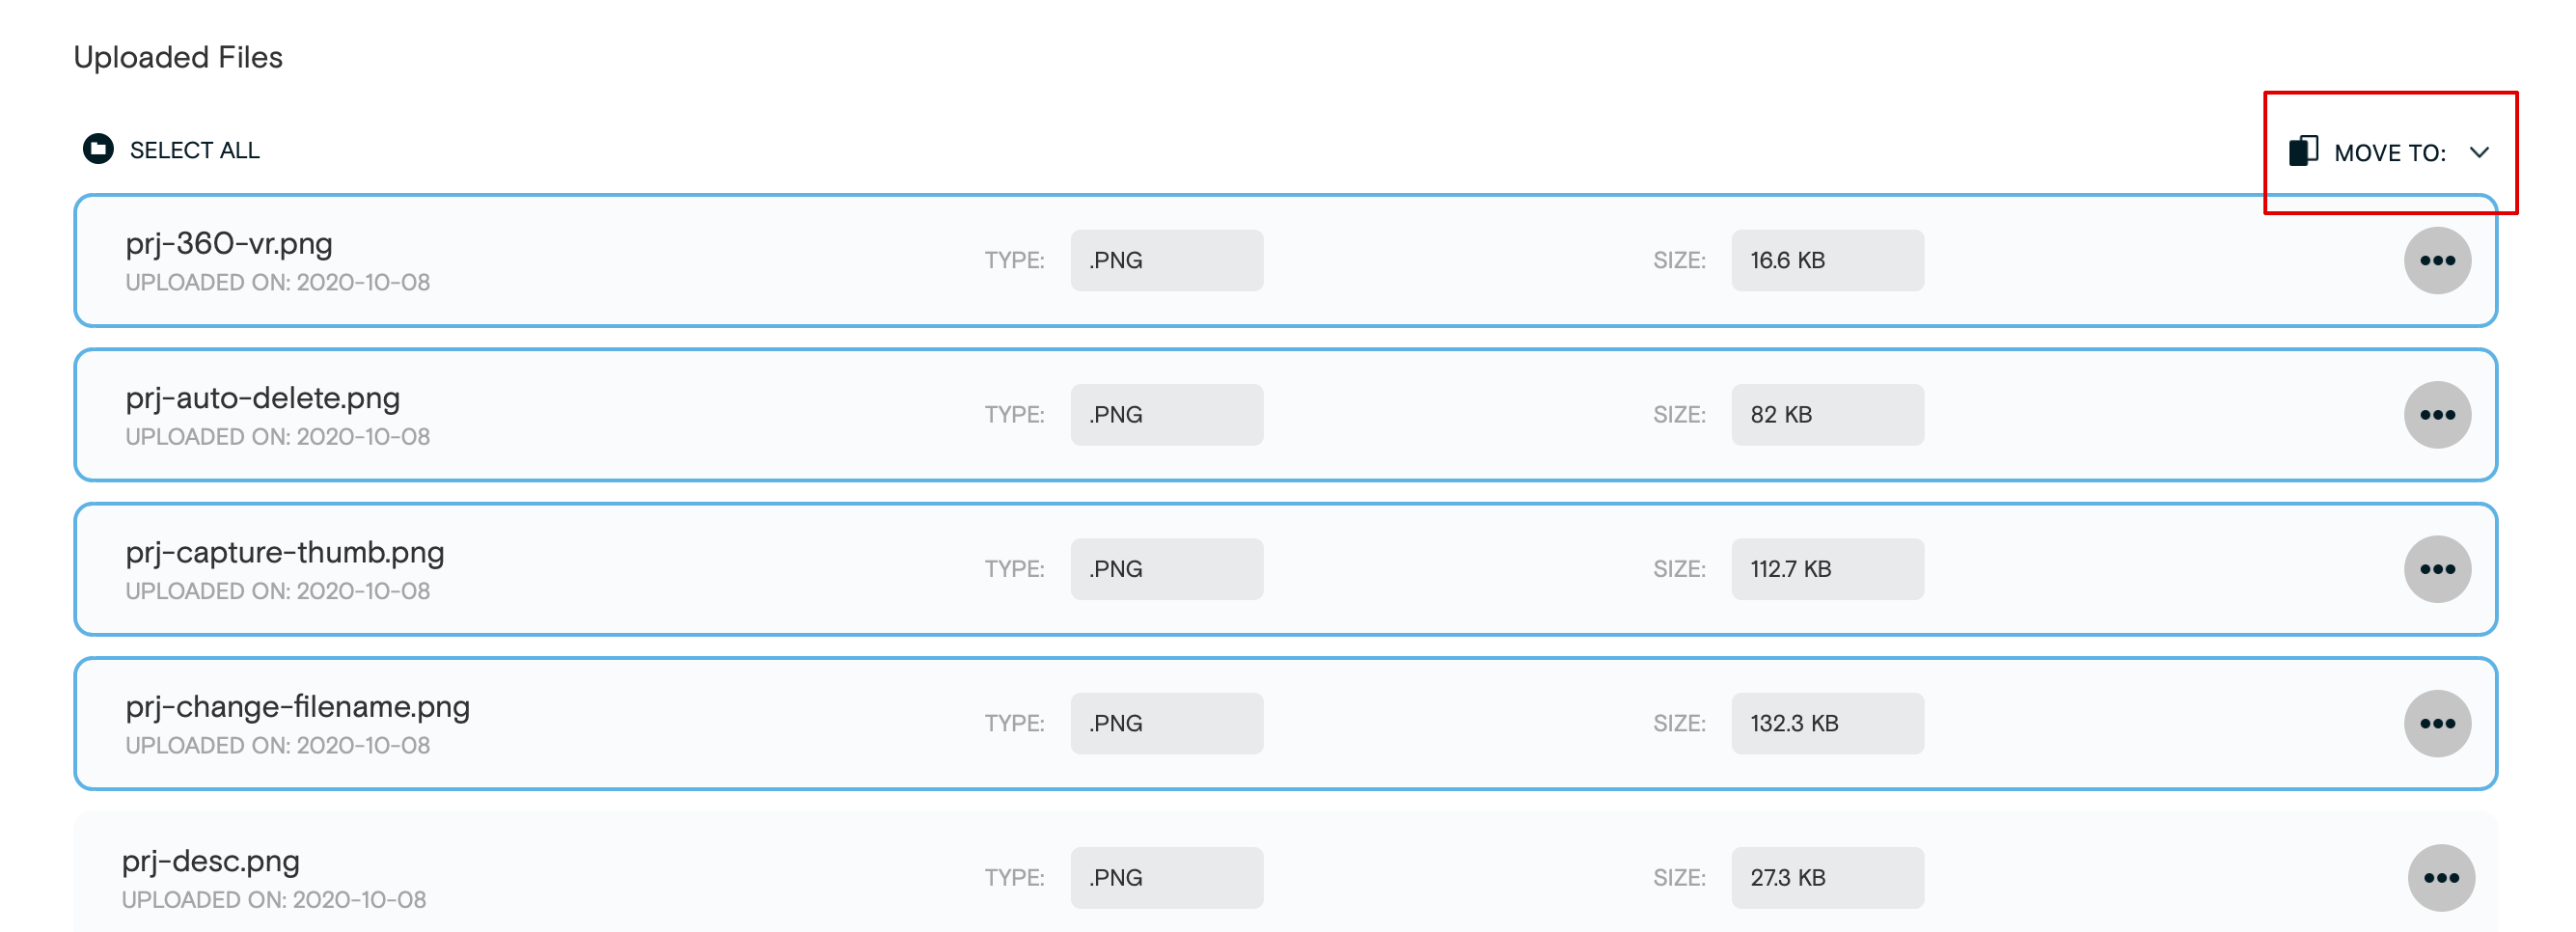
- Locate files uploaded to the Client Uploader in the Uploaded Files section of the page.
- Select the file(s) to be moved. To select multiple files, hold shift and click.
- Select the folder/subfolder from the Move To: dropdown.
- Click Import.